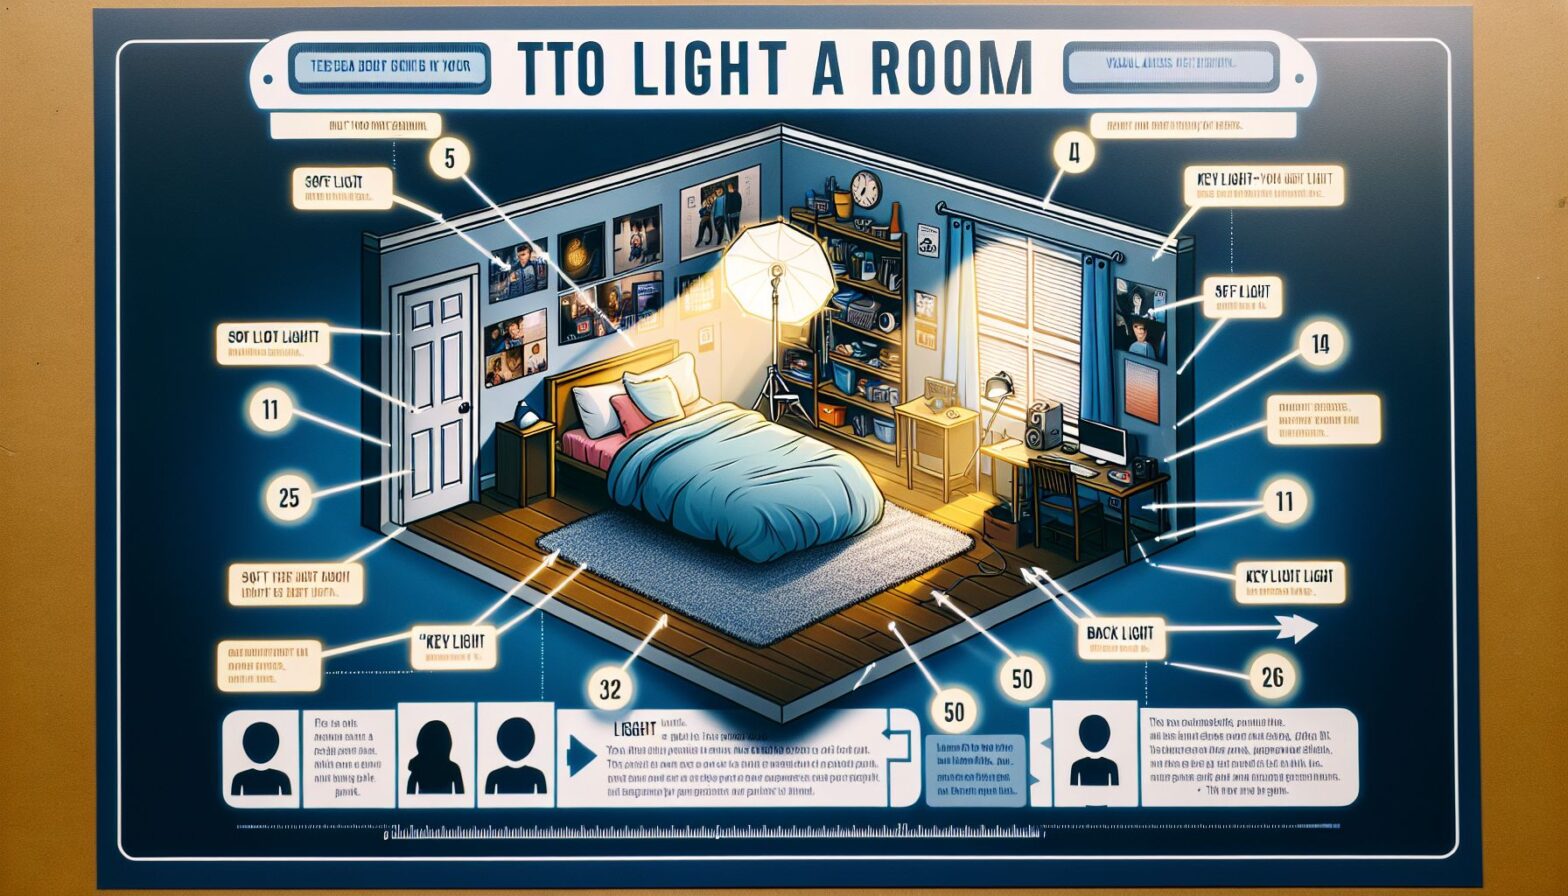
Lights, camera, action! If you’re a teenager looking to produce high-quality videos, lighting is an essential factor to consider. Proper lighting can make or break the overall look of your video, so it’s crucial to get it right. In this guide, I will walk you through the steps of how to light a room for video production in a stern tone of voice to emphasize the importance of this aspect of filmmaking.
Introduction
When it comes to video production, lighting is one of the most important elements to consider. Good lighting can enhance the quality of your video, while poor lighting can make it look amateurish and unprofessional. As a teenager involved in video production, it’s essential to pay attention to the lighting setup in your room to ensure that your videos look polished and visually appealing.
Body
1. Choose the Right Lights
First and foremost, it’s crucial to choose the right lights for your video production. Avoid using harsh overhead lighting, as it can create unflattering shadows on your subjects’ faces. Instead, opt for soft, diffused lighting sources such as LED panels or softboxes. These lights will help create a more flattering and natural-looking light on your subjects.
2. Set Up a Three-Point Lighting System
A three-point lighting system is a standard setup used in video production to ensure that your subjects are well-lit from all angles. This system consists of three main lights: the key light, the fill light, and the backlight. The key light is the primary light source that illuminates your subject, the fill light helps fill in any shadows created by the key light, and the backlight adds depth and dimension to your subject by separating them from the background.
3. Position Your Lights Correctly
Properly positioning your lights is essential to achieve the desired lighting effects in your video. The key light should be placed slightly off to one side of your subject, while the fill light should be positioned on the opposite side to fill in any shadows. The backlight should be placed behind your subject to create separation and prevent them from blending into the background.
4. Use Reflectors and Diffusers
In addition to your main lights, using reflectors and diffusers can help enhance the quality of your lighting setup. Reflectors can bounce light back onto your subject to fill in shadows and create a more even lighting effect, while diffusers can soften harsh light and create a more flattering look.
5. Adjust Your White Balance
Setting the correct white balance on your camera is essential to ensure that colors appear natural and accurate in your video. Be sure to adjust the white balance settings on your camera to match the color temperature of your lights for the best results.
Conclusion
In conclusion, lighting plays a crucial role in video production, and as a teenager interested in producing videos, it’s essential to pay attention to this aspect of filmmaking. By following the tips outlined in this guide and setting up a proper lighting system in your room, you can enhance the quality of your videos and create a more professional-looking final product. So next time you pick up your camera to shoot a video, remember the importance of proper lighting and take the time to set up a well-lit environment for your subjects. Lights, camera, action – go out there and produce some amazing videos!