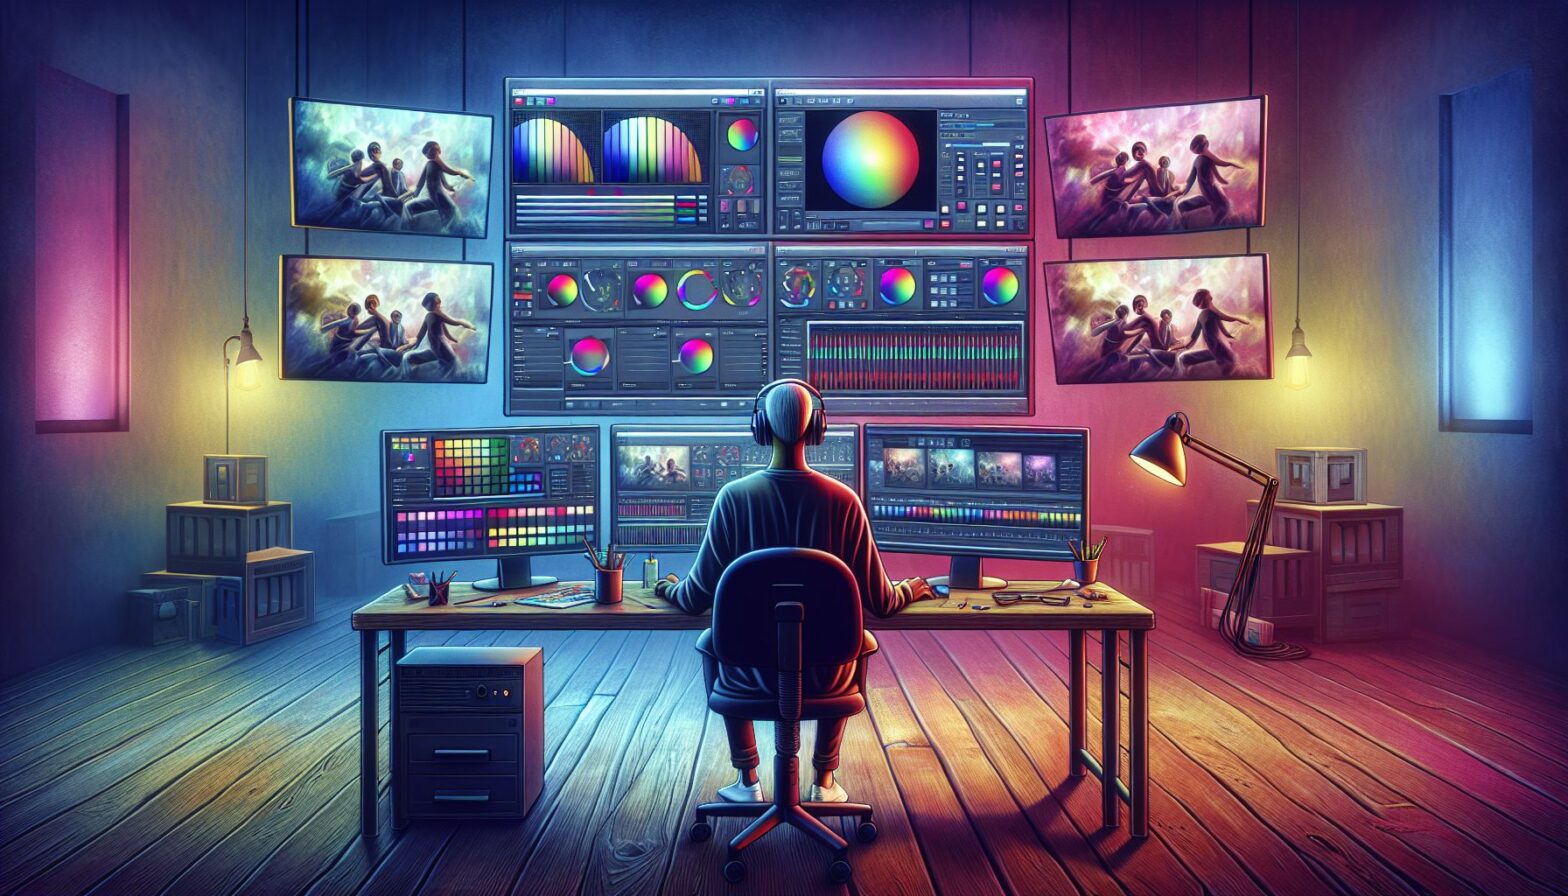
As a producer, you likely understand the significant role of color grading in creating visually appealing videos that speak to your audience. In the vast ocean of digital content, captivating visuals are the lighthooks that draw viewer attention.
This post delves into the crux of color grading. It aims to equip you with knowledge on how to expertly maneuver through the process, thereby giving your videos that professional, captivating look that viewers won’t scroll past.
Grasping the Basics
Before getting into the technicalities, it’s crucial to grasp some essential color grading terminologies. After all, color grading is more than just about making your video look aesthetically pleasing. If done right, it can help enhance the narrative and mood of your production.
Hue, Saturation, and Luminance (HSL)
- Hue: This is simply what we refer to as color. It’s what distinguishes red from blue, yellow from green, etc.
- Saturation: This refers to the intensity or purity of a color. Higher saturation levels result in vivid colors, while lower saturation leads to desaturated or muted colors.
- Luminance: This pertains to the brightness level of a color.
Understanding and manipulating these elements in your grading process can significantly enhance the look and feel of your video.
Understanding Color Theory
Color grading, just like any other aspect of video production, requires a certain level of creativity. You need to understand how different colors interact and how they can affect your audience’s perceptions. For instance, warm tones (reds, yellows, oranges) generally evoke feelings of happiness or excitement, while cool tones (blues, greens, purples) convey calmness or sadness.
The Grading Process
With the basics out of the way, it’s now time to get down to the grading process itself.
- Correcting – This involves adjusting aspects like white balance, exposure, and contrast to create a neutral baseline.
- Grading – This is the creative part where you apply different looks to establish the mood or tone of the scene.
- Matching – This ensures consistency across shots by making sure they all look like they belong in the same world.
Tools for Color Grading
There are numerous tools available for color grading, from professional standalone applications like DaVinci Resolve to integrated features in editing software like Adobe Premiere Pro or Final Cut Pro.
These tools come with a plethora of features to enhance your videos. For instance, many offer audio effects (Sound FX) that can elevate viewers’ immersive experience in your content.
Techniques for Effective Grading
- Use of color wheels – Color wheels allow for precise control over the hues and tones in your video.
- Secondary color correction – This allows you to isolate and adjust individual colors for fine-tuning.
- Utilize look-up tables (LUTs) – These are pre-designed color palettes that can deliver quick, professional-looking results. Just be sure to choose one that fits your video’s mood and narrative.
Conclusion
Color grading is more than just a post-production polish; it’s a pivotal part of telling your story. While it takes time to fully master, understanding the basics can significantly enhance your video’s appeal.
Remember that practice is paramount. The more you experiment with different techniques and tools, the better your proficiency will become. Before long, you’ll find yourself producing eye-catching, emotionally resonant videos that stand strong amidst the turbulent waters of internet content.
In today’s world, your videos don’t just compete against your direct competition. They compete against everything on the internet. Learning the art of color grading is one vital step toward making your videos truly worth watching. Don’t just tell your story; show it in color.